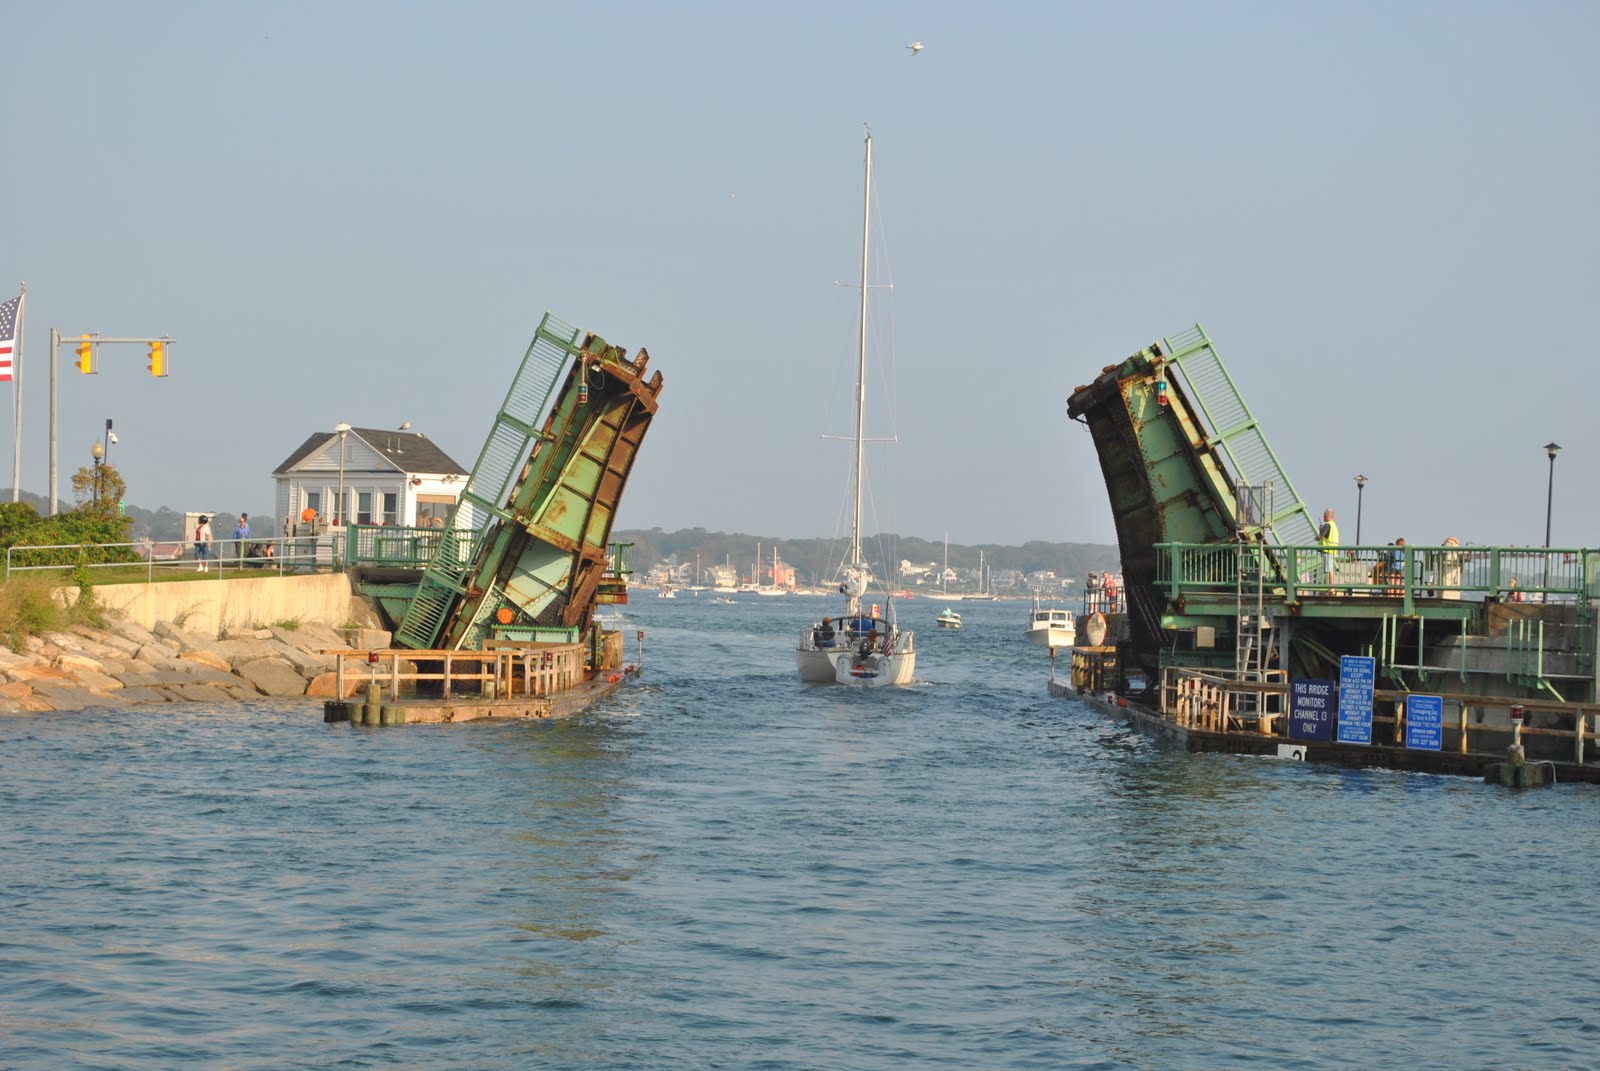
Wednesday, September 7, 2011

Trip to Portland Maine early September

18:43 Leaving Boston

Our departure was unfortunately delayed by prior commitments (jobs) until about 6:45 pm.  We had the boat mostly provisioned the day before.  It was going to be a moonless 95 mile sail through the night.  Bob estimates arriving in Portland at 2:43 the next day (and he wasn't far off).
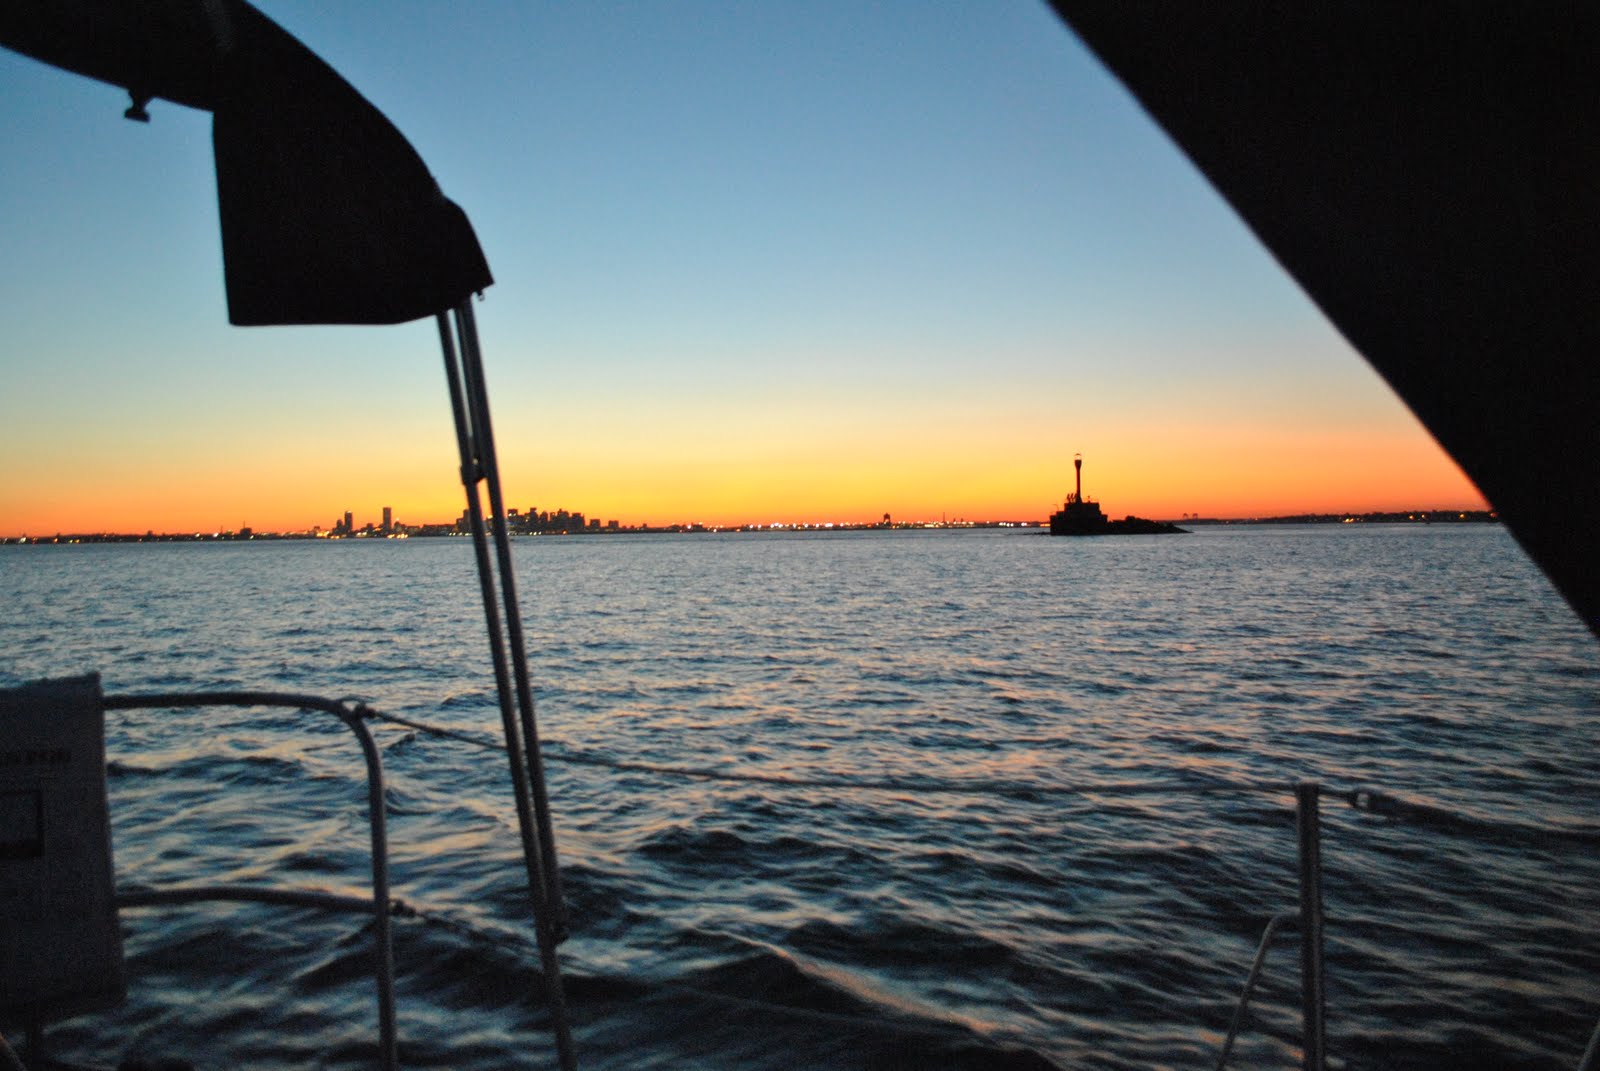
Rounding Deer Island with Boston fading into the distance

 We had great wind leaving the harbor.  Great in terms of strength, but awful direction.  We figured we could start sailing as soon as we got round Deer Island.  When we made the turn, the direction was good but it started weakening.  Still we got all the sails up and made around 4 kts.

Unfortunately, it continued to die and within just a couple hours we were motoring.  This would continue for the next almost 10 hours.  Ugh!

The instrument pod around 2am
It was a very dark night with no moon.  The stars were incredibly brilliant though and we could see quite a few meteors.  It also started to get a bit foggy around Cape Ann.   I tried to spot the lobster pots before hitting them but it's really almost futile.  As my friend Phil says "just run over them and hope for the best". 

First Light off the coast of Maine
After so many hours of motoring, I was really looking forward to first light.   I needed to sleep!  I think this is the best part of overnight sailing - that color as the sky just first starts to light.

As expected, the sun came up and we also got a little breeze.  We put the sails up and Linda took over but it was such a beautiful morning, I didn't want to just go to sleep so I grabbed a fishing pole.  No, nothing but who cares.


Multi-tasking

yaaaaay wind yaaaayyyy

ZZZZZZZZZZ
I went below and fell into a deep sleep for a couple hours.   When I woke up, I heard some "ticking" noise.  To me, it sounded like a halyard tapping the mast in the wind.  But when I got up to the cockpit, the noise was coming from below somewhere in the drive train!   I quickly pulled everything out of the aft cabin and removed all the access panels.   We had some sort of rotational noise happening but I didn't know where from yet.  It didn't sound like the xmission, or the stuffing box.  It sounded more like it was from under the boat.  My only guess was that a zinc came loose on the prop shaft and it was flopping around on there.   We went with that theory and continued on to Portland.

Casco Bay chart


Almost to Portland
After a few more hours, we could see the light at Cape Elizabeth.  Once we rounded the cape, there was only about 5 or 6 miles left.  Are we there yet?  Are we there yet?


For some reason, Linda took lots of pictures of shirtless Lobstermen


Landed
Finally at about 2pm, were were on our slip at Dimillo's Marina in Portland.  I quickly became unconscious. 

zzzzzzzzzzzzzzzz
After getting settled and checking in, we had a quick bite and beer at Dimillo's Floating Restaurant and then headed out to explore Portland.

Best Pizza ever
We were tired but we had a plan to see a band at Geno's Rock club on Congress St and they didn't start until 10pm.   We lasted for a few songs and headed back.


Portland Day 2: Morning Boat Maintenance
I thought I'd dive under the boat and see if my guess was right about the loose zinc.   Sure enough, the zinc (the only zinc) was ready to fall off.   I grabbed a hex wrench and with a few dives was able to tighten both screws.  Man is the water cold in Maine!


Have hex key, will dive


Seals zigzagging in the channel outside of DiMillo's

The Visitor
Our buddy Greg drove up to Portland to meet us for what should have been a day sail around the Casco Bay islands.  The wind had other ideas though and it got very light around the islands.  Our only choice was the open bay and even this was pretty light.

Scenes like this are common in Casco Bay


Greg is promoted to skipper
Portland Day 3
Today, there was actually some wind but we chose to be tourists and explore the town.  Exploring of course includes shoe shopping.
I'll take one of each

Portland Day 4: Forecast says...
Head home.    We were looking at 3 days in a row of South or South-west winds.  We decided to leave a day early and break up the trip since it would involve a lot of motoring.  We had no reservations anywhere and it's a holiday weekend.
Portland Sunrise as we head out of the harbor.  Destination unknown

We finally decided on Portsmouth NH as our next stop for the day.  As we rounded Cape Elizabeth, we got a decent angle on the wind and were able to sail a bit.
Linda hoisting the Main in her PJs
Rough ride
The sailing didn't last long.  We were just too high up into strong winds and 4 foot seas.  We had to revert to the Diesel for most of the way to Portsmouth.   We spent most of the day getting beat up pretty good on these waves.  We both took the blue tablets but Linda got pretty sick.

Seasick

We were finally able to sail for the last few miles into Portsmouth.  We picked up a ball in their transient field but then they moved us over close to the yacht club on a ball which just opened up.   The Launch driver was even nice enough to give us a lift into town.
Whaleback Light in Portsmouth Harbor

River Current on our mooring ball

Foggy Portsmouth Morning
Day 5: Off to... ???
Today we switched roles.  Linda sailed and Bob was galley whench and communications officer.  Bob did better in the galley.  I couldn't find any place that would take us for the night either north or south of Cape Ann.  We got a really  nice breeze off of the NH coast at a decent angle and had the toe rail in the water!

Linda in the galley at 30 degrees

Almost


Back in Massachusetts
We still didn't know where we would spend the night but Linda wanted to visit the Plumb Island area just north of Cape Ann.   We decided we would try a passage through the Annisquam River.  Slack current was not until 4 or 5 pm so we anchored off the beach for a rest and a quick swim.  The water is much warmer than in Portland!
Swimming near Plumb Island


Annisquam Passage
The Annisquam is a narrow, shallow, twisty shortcut through Cape Ann.  There are three bridges - two of which have to be opened to pass under.   What could possibly go wrong.  We were a bit nervous about trying this but we went for it.  We were at high tide and slack current so it should be pretty easy.

There is a strict no-wake rule in the river.  As usual, power boaters seem to generally disregard this rule and some were quite impatient with us only going a little over the speed limit.  They were passing us and throwing up nice wakes.  Bastids.
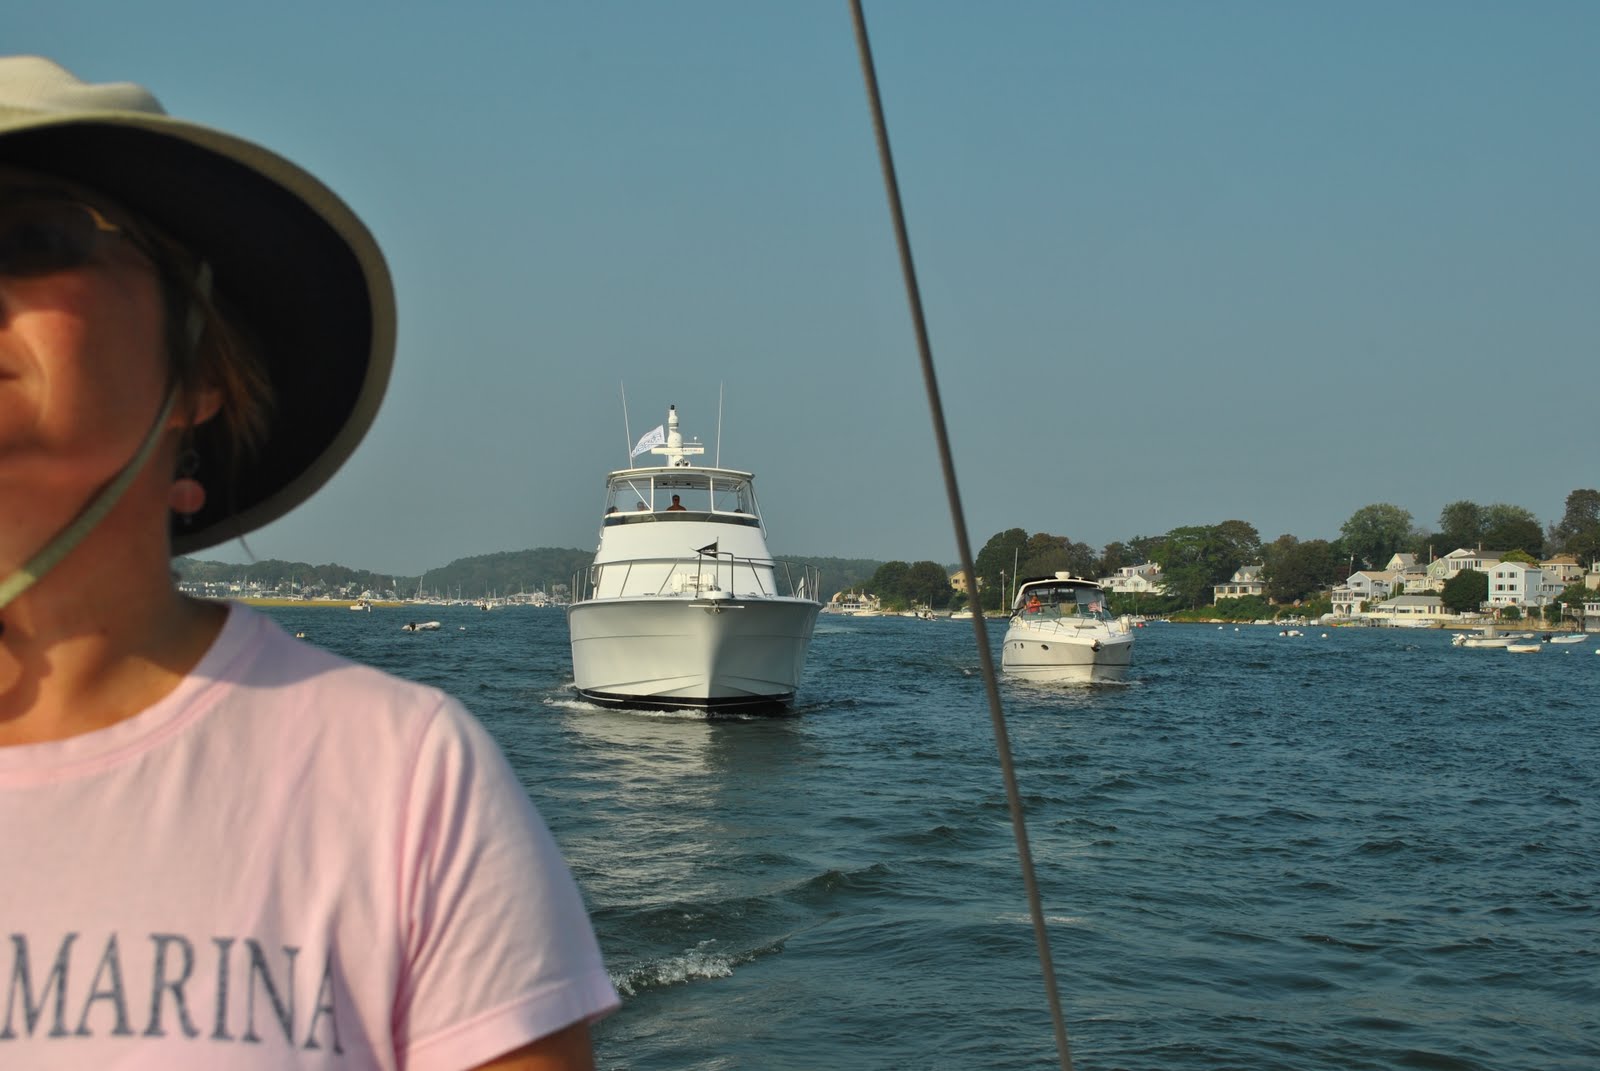
%^&$%^# power boaters bearing down on us.

Your 5 foot draft boat is in 2.8 feet of water

Fun with Depth Sounders
Our depth sounder has a habbit of screwing up once in a while and displaying an alarmingly shallow depth.  It of course chose the annisquam channel to do this.  Here we are in "2.8 feet" of water  (we need 5 feet).  This tends to be a little unnerving.

First bridge  Rt 128


Second Bridge.  The Amtrak RR bridge.  This is normally open

Home stretch.  Gloucester harbor on the other side of the  last bridge

Found Lodging
Linda went below for about 5 minutes and came back up announcing we had a mooring in Marblehead harbor for the night.  She is definitely communications officer from now on.
Heading toward Marblehead.  Salem power plant stacks ahead

Day 6: Homeward Bound
We left Marblehead early the next day and headed straight for Boston.  Once again straight into the wind.  Once we rounded Deer Island we were able to sail nice and fast for the last leg.  Just then an LNG tanker decided to come out and we had to circle around and kill some time as it passed.
Our skyline


See all the photos from this trip

Fujin
With full sails on a light wind day near Boston Light

Sunday, August 21, 2011

Spectacle Island, Cliff Diving and Phoebe the sailor dog

We had a little time to take a quick harbor sail yesterday.  The ICA is hosting a Cliff Diving tour and has a platform set up on the roof (about 80 feet up).


Well enough of that.  It was very crowded with boats there and no one was anchored.   Everyone has to maneuver around everyone else who is also always maneuvering.  It was a little tiring.   We motored over to Spectacle and put out the hook for a little swimming.


This was also the first time we took Phoebe (the dog) out for a quick sail.  She seems happier when the boat is actually moving but she did fine.

Wednesday, August 10, 2011

Cockpit Upgrade Addendum

Now it's really done

Since the initial installation, we've completed a few more steps.   I connected all the NMEA connections that were going to the old Garmin 441s to the Raymarine Display.   Once I got my ins and outs organized, everything worked perfectly.   One thing we can do now that we couldn't do before is transfer Routes from the netbook TO the chartplotter.  The Garmin had a bug/feature/limitation that prevented this.   I had no problem transferring a Route from OpenCPN to the Raymarine device over NMEA.

More Balls

I ordered two more ball mounts for the large instrument pod ($72/ea).    Last night we drilled and installed them. It definitely stabilizes the pod more, but it's still annoying that these had to be stuck on the bottom after putting the initial two in the vertical center.  It holds but it looks kind of stupid.   I hate to complain about Edson because they were so helpful, but now that the invoice has come, I see that this mid-sized chartplotter pod kit really does only come with two ball mounts.   It's crazy.  I can't imagine a device large enough to require this size pod that would be light enough to only need two ball mounts.   The Pedestal guard kit is really nice.  No complaints there, but I would definitely stay away from Edson instrument pods and mounting systems if I were starting over.   Since completing the job, I'm noticing that all our neighbors at the marina have NavPod enclosures.  I like the way they mount to the guard so much better than the Edson system.

Sunday, August 7, 2011

Cockpit Upgrade

It all started during the eight day cruise a couple weeks ago. Our Garmin chartplotter started getting a bit wonky. I thought it may have been because of the big splashes it took a few times in Vineyard Sound one day.

I brought it home and plugged it into a power supply in the shop (dining room table actually) and it was still just as dead.

The Up-sell
I started pricing some replacement options for the Garmin,   This was a 441s, the "4" meaning four inch display.  Maybe we should upgrade to the 5 series or 6 or 7?    Finally we decided to future-proof the thing and go with a Raymarine multi-function display.  The thought being that we will eventually add a Radar system to this boat and this display will work for that.  And besides, I don't want to go through the hassle of replacing a pedestal guard pipe ever again.

I ran the idea by Matt LeDuc from Fleet Yacht Sales, and Kyle Medina.  Matt was the broker who sold us to Fujin.  Kyle was the master who did the major structural rebuild and upgrade before our first season with her.

I'm still not sure how many shares of Raytheon Matt owns, but he was all over the idea of doing the Raymarine display.

The only downside - this thing is freeking expensive!   Over two grand!

It grows
Like anything else with a boat, nothing is simple.   Changing to this display will mean totally redoing the pedestal guard and instrument pods.  This of course means un-wiring everything that is currently mounted anywhere on the guard.  Also, the old guard was a 1" diameter tube.  The world has since gone with 1.25" tubes so stupid things like the drink holder won't work anymore without some modification.  It also means the top plate of the pedestal will have to be replace, which means removing the compass and....  Anyway  I called Edson Marine and told them what I was doing and they successfully relieved my credit card of another $800 for new pedestal guard, pedestal feet, top plate, instrument pod, and mounting hardware.  I should say they were incredibly helpful and friendly and it was really this conversation that made me sure I could do it myself.

We were able to do a certain amount of prep work at home.   I got the faceplate cut out.  This went flawlessly.  The only difficulty being that the jigsaw blade heats up the plastic so much as it cuts, that it actually melts back together after the blade passes!
Getting ready to cut out the faceplate in the new pod


Measure twice, cut once

Preparing the mounting holes for the pod didn't go all that smooth.  Later we found that there was an even more fundamental problem with how we did it (which I have to partially blame Edson sales for).  I did all sorts of careful clever measurements to mark the centers of the mounting holes.  The guard tubes are 9.5" apart and so were the centers of my holes.  Luckily, I only cut one hole out and placed the pod on the tube to see what it would look like.  First mistake becomes apparent!   Because the mounting holes go in an angled part of the pod, the spacing needs to be actually MORE than 9.5".  Unfortunately this means that our pod will not be centered on the bars.  We decided we would just not tell anyone.   Since I only cut one hole before discovering the mistake, I drilled the other one where it needed to go and all is well.


Bob posing with the C90W mounted to the pedestal guard


To the Boat
Next step was to get to the boat and determine exactly where the placement of the instruments should be.  Besides the new Raymarine C90W display, we have our Autopilot control head in a single Edson pod.  The positions have to be determined ahead of time because we have to drill holes in the tube for the wiring to pass through.  (it turns out that drilling holes in a stainless steel tube is fun)

Bob eyeballing the new guard up against the old guard

The Transplant
We got the holes drilled at home and brought everything down to the marina to install.  Within about an hour we got had things pretty well mounted and we were ready to start re-wring things in.

The first step was to get power to the C90W display and smoke test it.   It woke up and eventually found satellites and figured out where it was.  This is good!

Next, I hooked up the X/5 autopilot control head and motor to the autopilot computer down in the lazerette

Removing the old pedestal guard and wiring

Working on the Autopilot connections in the Lazarette.  I am reminded of the wise words told to us by our Surveyor:  "never hire a fat surveyor"


Removing the compass so we can swap out the top plate with the new one

Linda removing more of the Pedestal parts to get to the top plate

The display is ON!!  I'm sending this in to Raymarine hoping they will make me "Mr. August" in their 2012 "Marine Contractor Hunks" Calendar.  The dorky reading glasses make the look.
Testing
After applying power to the display, it came to life without any complication.  Well not much.    Next was to see how badly I broke the Autopilot.   Apparently "a lot" is the answer.  It lit up but it wouldn't actually work.   It was getting late so I figured I'd come back to that another day.  When we were almost out to the cars, we realized we forgot something so I went back to the boat.  I thought I'd check the a/p wiring one more time.  Everything looked fine.  So I stepped though the display functions of the controller, and eventually it made 5 beeps and started up!   I guess since I unhooked everything something needed to reinitialize.   So the a/p works!

Snapped this picture with the iPhone after getting the a/p to work

Post-mortem
There are a couple things I'm disappointed with:
  1. The "Built-in" GPS receiver of the C90W is not very sensitive.  I realize they added the built-in to this latest generation to make it a simpler installation but to say that you don't need an antenna because this has it built-in is like saying you don't need a real camera because your phone has one built in.  Yeah it does, but it kinda sucks.  I have a feeling there is a dedicated GPS receiver in our future.
  2. Edson steered me wrong about one thing when they sold me the stuff.  They told me I'd need TWO of the ball mounts for the large instrument pod.   I drilled out the mounting holes considering there would be only two.   Once you put this heavy unit in there, it's very clear that there is NO WAY that two are enough.   In fact within an hour, the pod has deformed its shape already.   It should have four in a nice square pattern.   Unfortunately, I've already put two at the vertical center point of the pod so if I add another two, underneath them, it still won't be as stable of a mounting as it could be.  Even when I picked the stuff up from the Edson factory, the guy didn't question why I was only getting two.  Ironically they could have sold me more stuff (these ball mounts are $70/ea) and I'd have a better installation.
  3. This is minor but what is up with the dust cover of this Raymarine display?!   To unsnap it, with bare fingers is just about impossible.  You feel like you're going to tear the bezel off!   I think I'll be filing down the plastic tabs a little bit.